

The best retro gaming room ideas start at the walls. That is where a room either says this is mine or this looks like everyone else's. You do not need a wall of arcade cabinets or a big budget. You need one strong idea and the discipline to build around it. The quickest way to make a retro gaming room feel designed instead of cluttered is simple: choose wall art that actually means something to you, hang it at the right height, light it warmly, and leave space to breathe. Below are 12 ways to do exactly that, from a single anchor print to a full gallery wall, whether you have a dedicated room or one honest corner of the apartment.
- 1. Start with one anchor piece
- 2. Build a gallery wall
- 3. Make it feel lived-in
- 4. Use neon with restraint
- 5. Frame the small rituals
- 6. Treat one era like a museum piece
- 7. Honour the couch co-op era
- 8. Get scale and height right
- 9. Mix eras on purpose
- 10. Light it like it matters
- 11. Leave breathing room
- 12. Make the wall yours
- FAQ
1. Start your retro gaming room with one anchor piece, not ten posters
The most common retro gaming room mistake is buying ten cheap prints at once and taping them up edge to edge. A room reads as intentional when one piece leads and the others support it. Choose a single large print as your focal point, ideally 18x24 inches or bigger, and place it where your eye lands first when you walk in, usually above the desk or behind the main screen. Hang everything else in relation to that anchor. One confident wall beats a wall of noise every time.
2. Build a gallery wall that looks planned, not pinned
A gallery wall is the move that turns a few favorite prints into something that looks curated. The trick is planning it flat before a single nail goes in. Lay your frames on the floor, keep a consistent 2 to 3 inch gap between them, and line up either the centers or the edges so the grid feels deliberate. Mix one large piece with a few smaller ones for rhythm. If you want a ready-made set that already shares a visual language, the retro gaming wall art collection is designed to hang together.
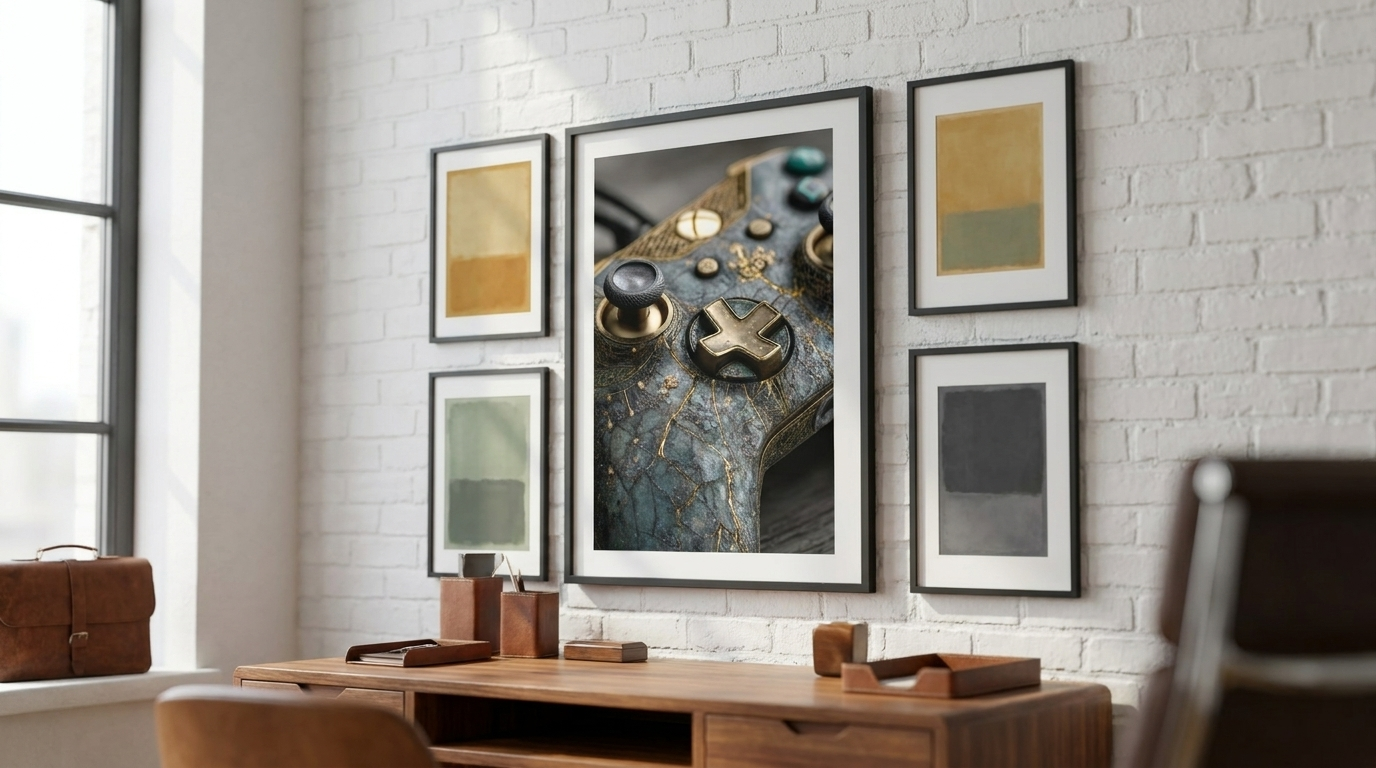
3. Make it feel lived-in, not staged
Showroom-perfect rooms photograph well and feel like nobody lives there. The retro gaming rooms that actually pull you in look played-in. Lean into the texture of a hobby you have had for years rather than chasing a glossy, just-unboxed look. Art that carries a sense of wear and history does more for the mood than another crisp neon sign. It signals that this room has stories in it, not just stuff.

Gallery art built on the soft wear of a hobby you have loved for years. The patina you earned, framed for the wall.
4. Use the neon glow, but with restraint
Neon is the retro gaming cliche for a reason. That arcade-entrance glow is half the memory. The mistake is drowning the room in color-shifting RGB until it looks like a server rack. Pick one source of warm, intentional glow and let it carry the feeling. A single print that captures neon light reads as taste, where ten strips of shifting LED read as a setup you have not quite finished.

The arcade-entrance glow you still remember, rendered as art instead of one more LED strip.
5. Frame the small rituals, not just the hardware
Most gaming decor shows the obvious icons: controllers, consoles, big logos. The pieces that hit deeper show the rituals. The coin going into the slot. The token in your palm. The quiet, repeated actions that made the hobby yours. Framing a ritual rather than a product gives a wall an emotional center, the kind of detail a fellow gamer clocks instantly and a stranger still finds beautiful.

An ode to the quarters and tokens you traded for hours. Devotion, framed for the wall.
6. Treat one game era like a museum piece
There is a reason museums put a single object under glass and give it space. It tells you this matters. You can do the same with the era of gaming that shaped you. Instead of scattering references everywhere, give one a museum-style treatment: framed, centered, lit, surrounded by breathing room. It lifts the whole room from fan clutter to a considered, almost archival display.

One era of play, sealed in amber and given the museum treatment it deserves.
7. Honour the couch co-op era
Some of the best gaming memories were not solo. They were two players on one couch, eyes on the same screen, living in completely different halves of it. A piece that captures the split-screen, local-multiplayer era brings warmth and a little nostalgia into a room that might otherwise lean cold and high-tech. It is also an easy conversation starter for anyone who grew up the same way.

Two worlds, one couch. The local-multiplayer era that taught you who your best friend was.
8. Get the scale and height right
Scale is what separates a designed wall from an awkward one. Above a desk, your main piece should span roughly two thirds of the desk width so it feels anchored, not stranded. Hang art so its center sits around eye level, about 57 to 60 inches from the floor, the same height most galleries use. Above a sofa or daybed, leave 8 to 10 inches between the top of the furniture and the bottom of the frame. Get these numbers right and even budget prints look intentional.
| Where it hangs | Suggested size | Why it works |
|---|---|---|
| Above a standard desk | 18x24 in | Spans about two thirds of the desk width and anchors the wall |
| Wide or dual-monitor setup | A1 (23x33 in) or 24x36 in | Large enough to hold its own above a big surface |
| Gallery wall (mixed) | One 18x24 in plus several 8x10 to 12x16 in | A clear anchor with supporting prints around it |
| Small corner or shelf | 8x10 to 11x14 in | Fits tight spaces without crowding them |
| Above a sofa or daybed | 24x36 in, hung 8 to 10 in above the back | Balanced proportion to the furniture below |
9. Mix eras on purpose
A retro gaming room does not have to be one single look. The most interesting walls mix eras deliberately: a chunky 8-bit pixel piece next to a moody, gallery-matte print, an old-school map beside a clean typographic one. The contrast is the point. It mirrors how most of us actually played, jumping across generations, and it keeps the wall from feeling like a themed gift shop.
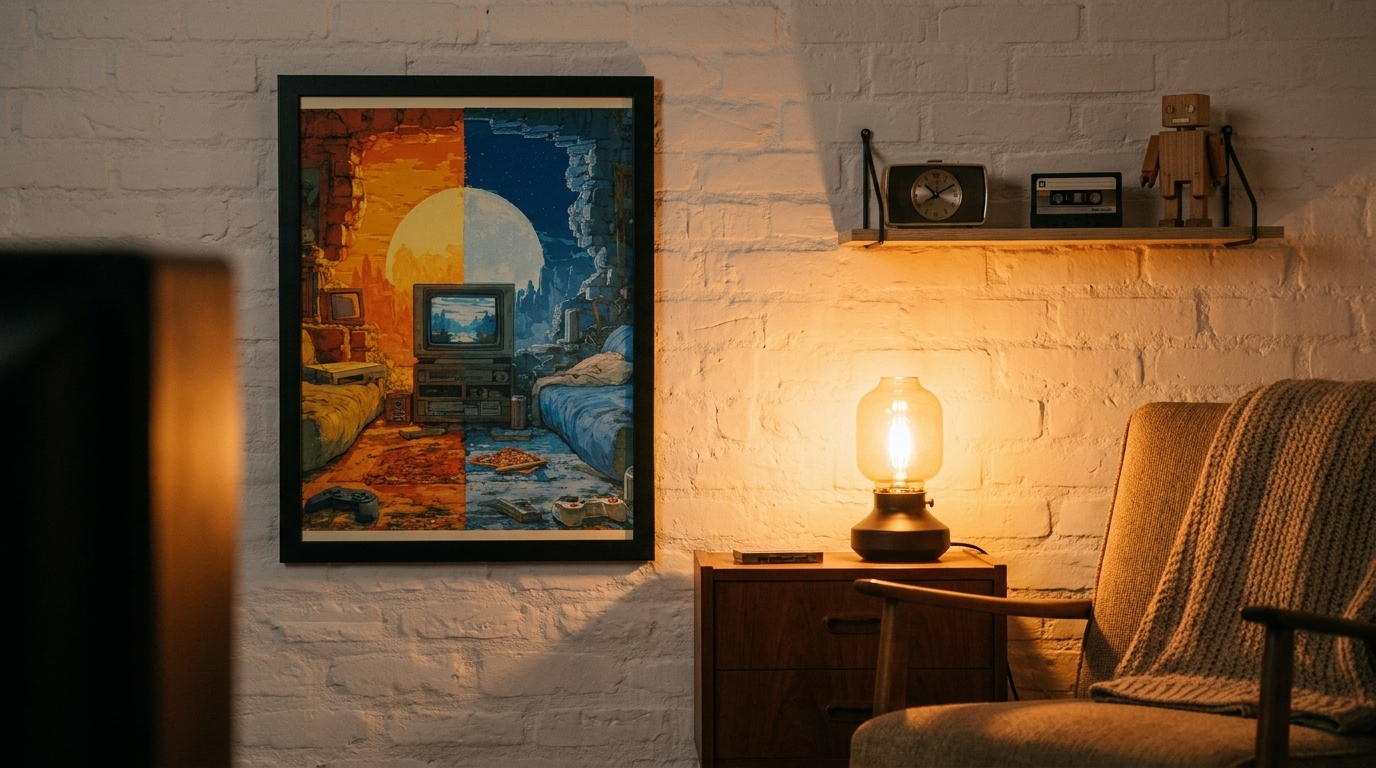
10. Light it like it matters
Lighting makes or breaks the mood. Overhead ceiling light tends to flatten everything and throw glare across framed glass. Instead, layer warm, low light: a bias light behind the monitor, a couple of warm lamps, maybe a single accent light on your anchor piece. Many gamers also find that warm bias lighting behind the screen makes long sessions a little easier on the eyes. Aim for glow, not flood.
11. Leave breathing room
The instinct in a passion space is to fill every inch. Resist it. Negative space is what makes the pieces you do hang feel valuable. A wall with three well-placed prints and room around them reads as confident and curated. A wall packed corner to corner reads as a collection you have not edited yet. When in doubt, take one thing down.
12. Make the wall yours, not a starter-pack clone
Here is the real difference between a forgettable setup and a room that feels like yours. The forgettable version is the starter pack the internet sold everyone: the same mass-produced poster, the same generic strip lighting, the same beige sameness dressed up as personality. A room that feels like yours is built around the specific things you actually love, expressed in art that gets the reference right. That is the whole idea behind retro gaming room design done well. Your story belongs on the wall, not a copy of someone else's.
Frequently asked questions
What makes a gaming room 'retro'?
A gaming room reads as retro when its design references earlier eras of play rather than only current hardware. Think pixel-art and arcade-era motifs, warm or neon lighting, CRT-inspired or cartridge-era cues, and wall art that nods to the games and rituals of the 1980s, 1990s, and early 2000s. It is a mood and a memory, not a single decade.
How do I decorate a gaming room on a budget?
Start with one anchor print rather than buying everything at once, then add pieces over time. Wall art is the highest-impact, lowest-cost upgrade in most rooms: a single well-chosen print transforms a wall for about the price of a new game. Prints in the RaZits retro range start around 20 dollars, so you can build a wall gradually without a big outlay.
What size poster should I hang above a desk?
For most desks, a main piece spanning roughly two thirds of the desk width looks best. In practice that often means an 18x24 inch print for a standard desk, or going larger to A1 or 24x36 inches for a wide setup or a statement focal point. Hang it so the center sits near eye level when you are standing.
Where should I hang posters in a gaming room?
Put your strongest piece where your eye lands first, usually above the desk or behind the main screen, at roughly 57 to 60 inches to center. Use side walls for supporting prints or a gallery cluster. Keep art off walls that catch heavy direct sunlight, which fades prints over time, and avoid hanging directly behind a bright window where glare washes it out.
How many posters is too many?
There is no fixed number, but a good rule is to stop before the wall feels full. Three to five well-spaced pieces usually look more intentional than a dozen crammed together. If you cannot see clear space around each frame, you have probably gone one or two pieces too far. Edit ruthlessly and let the best work breathe.
Build a wall that actually looks like you played
Every print in the RaZits retro gaming range is made on demand and designed to hang together, so your wall tells your story, not a copy of someone else's. Your Story, In Everyday Items.
Explore the Gaming Wall Art Collection →Made on demand and shipped within a few days. If a piece does not feel like it speaks your language, we will make it right.

